-40%
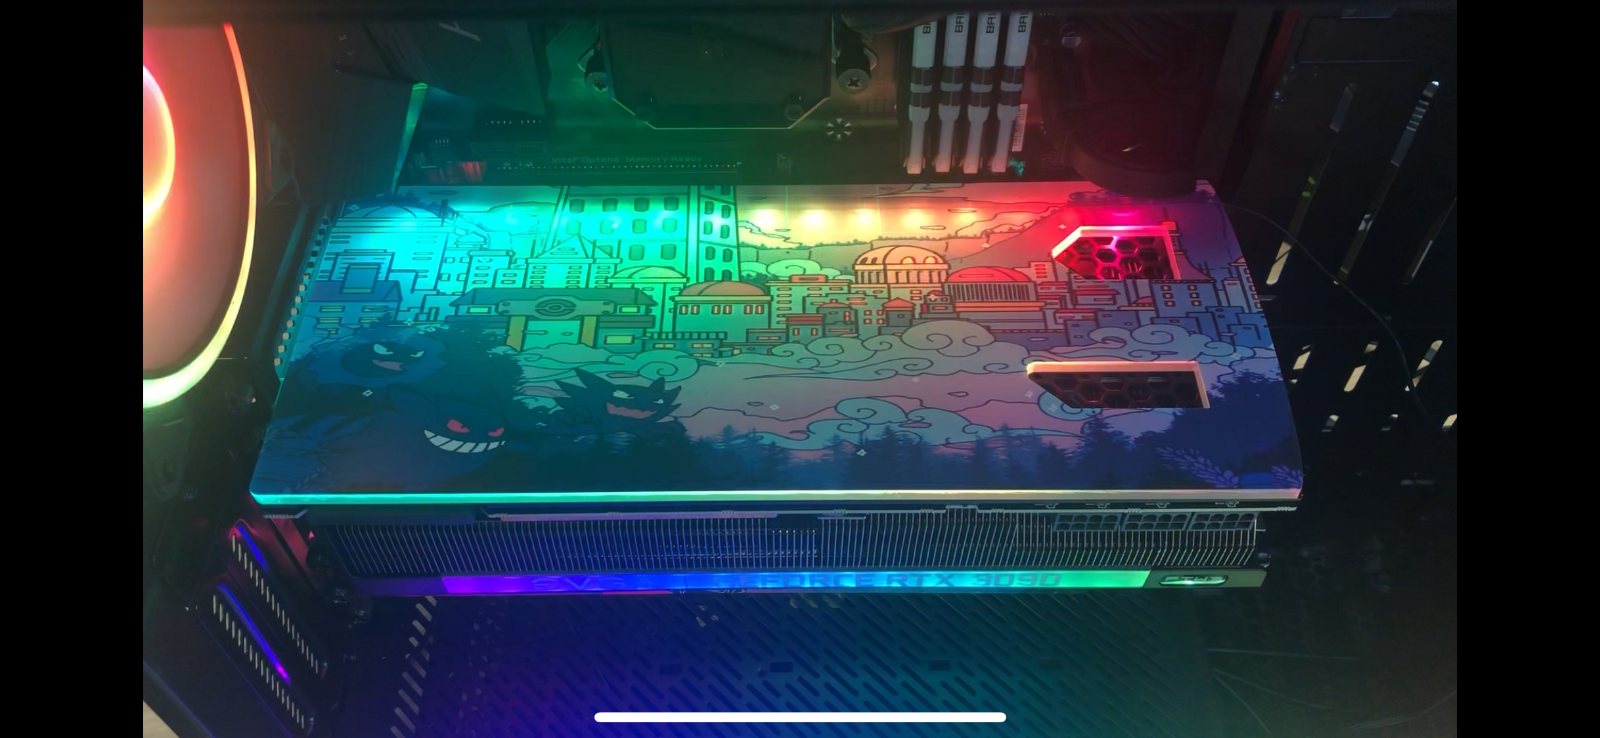
ARGB backplate for EVGA GeForce RTX 3070/3080/3090 FTW3 GAMING + Ultra Gaming
$ 47.51
- Description
- Size Guide
Description
Lavender Town ARGB GPU BackplateMounting is made super simple with included double-sided tape and nonconductive magnets!
.
All RGB Backplates sold through Ebay include a 20 inch (50cm) long 5V 3Pin Addressable Header Cable. A-RGB remote(SATA Powered)/, Corsair iCUE cable, & Gigabyte Fusion VDG Cable, double-sided tape, and nonconductive magnets.
1) To install your V1 Tech Custom Graphics Card Backplate, we recommend first removing the graphics card from your PC. 2) If you opt to use the provided magnets for an easily removable installation, first apply the provided double-sided tape to one side of the magnets by peeling the protective plastic on the tape and sticking the tape directly to the magnet. Place the magnets onto the tallest screws* on the back of your graphics card with the tape facing away from the graphics card. If a semi-permanent installation is desired, apply the provided double-sided tape directly to the tallest screws* on the back of your graphics card.
*Note: Ensure that as much surface area is covered as possible, start with the far corners of the graphics card and evenly distribute magnets/adhesive as you work inward to ensure that as much surface area is covered as possible fora secure installation.
3) Peel the protective plastic on the other side of the double-sided tape and position the V1 Tech Custom. Graphics Card Backplate directly over the rear of your graphics card (double-check to ensure that the backplate is oriented the correct way by aligning with any SLI or PCIe power cutouts if present. Press down firmly to secure in place. Install your graphics card into your system.
All our RGB Mod Parts come with this connector on the cable by default. See below options on how to power/control the LEDs.
Option 1 (Included): Connect the RGB Cable directly into your motherboards 3 Pin 5V RGB Header, Razer Chroma Addressable RGB Controller, EKWB D-RGB Loop Connect, or your own 5v 3Pin Controller. Make sure not to connect to a 12V 4 pin header, as that will kill the LEDs.
Option 2 (Included): To use the RF remote to control your LEDs simply connect the SATA Power Cable to any SATA Power cable from your power supply unit. Connect the other side to the LED connector.
Option 3 (Included): To use Corsair iCUE to control and power your LEDs, simply connect the Corsair iCUE cable adapter to the RGB Cable, and then plug in the adapter into a Corsair Commander Pro or Corsair Node Pro unit. Connect the other side to the LED connector. In Corsair iCUE?s software make sure to set the product to *
2 LED STRIPS*
as ours are denser!
Option 4 (): Connect to a Gigabyte/Aorus Motherboard Fusion 5V 3 Pin VDG Header. Connect the other side to the LED connector.
